🎯

📖 Creating Your First WordPress Page with Elementor – Step by Step Guide

Elementor is one of the most popular and user-friendly page builders available for WordPress. It requires zero coding knowledge and offers a powerful drag-and-drop interface, making website creation accessible to everyone. Whether you’re a beginner or an advanced user, Elementor provides flexibility and ease of use for designing professional web pages.

In this guide, we will create our first page using Elementor, step by step. (Since I have both Elementor and the Classic Editor installed, I’ll show you where to find the “Edit with Elementor” button whenever needed).

Screenshot shows in steps how to edit a page with elementor - WordPress Elementor

🚀 Step 1: Create a New Page in WordPress

1️⃣ Navigate to WordPress Dashboard → Pages → Add New

Screenshot shows in steps how to edit a page with elementor - My first wordpress page

2️⃣ 
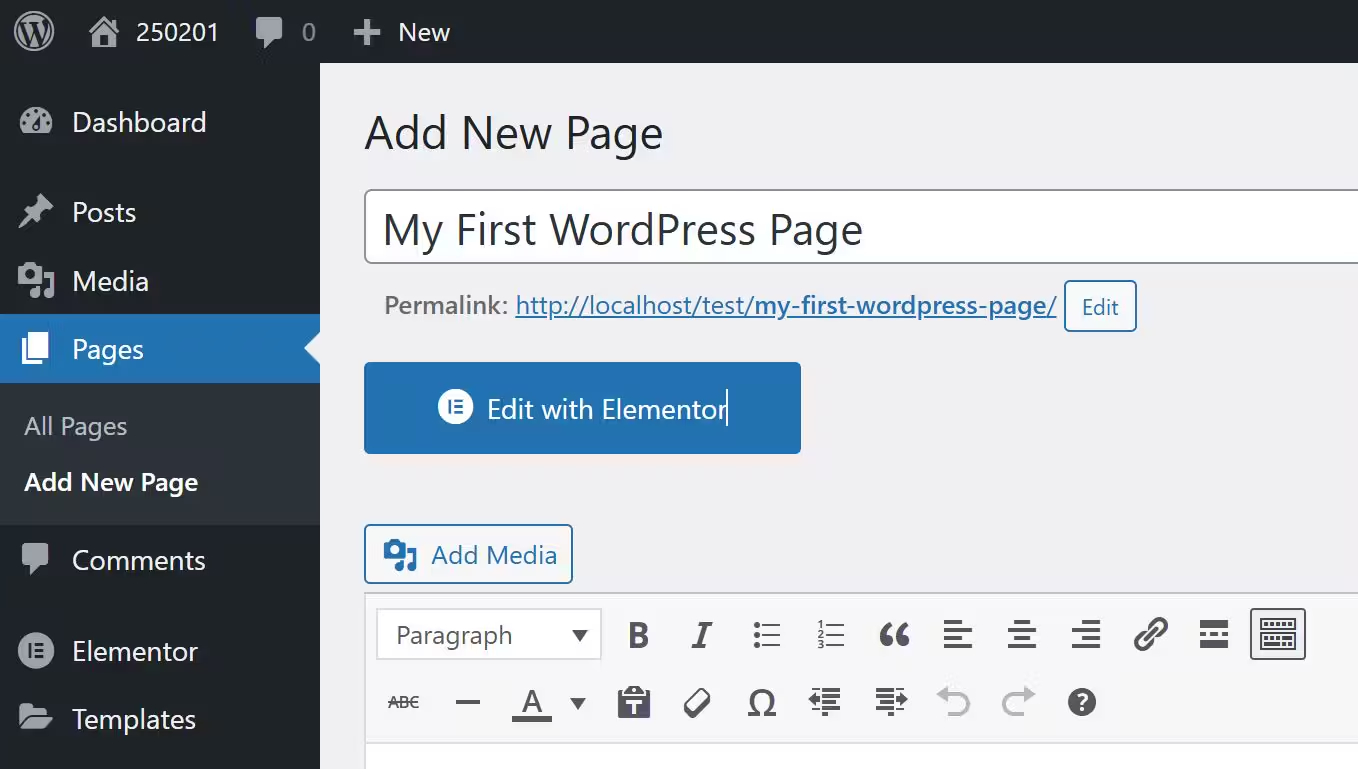
Name the page “My First WordPress Page”

Screenshot shows in steps how to edit a page with elementor - page publish button

3️⃣ 
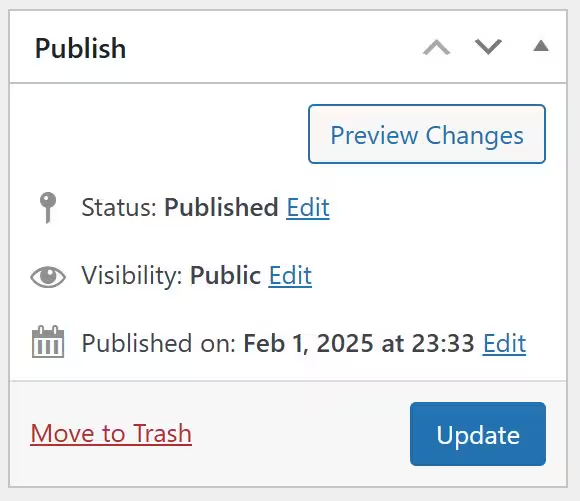
Click the Publish/Update button on the right-hand side to save your page

Screenshot shows in steps how to edit a page with elementor - permalink

4️⃣ 
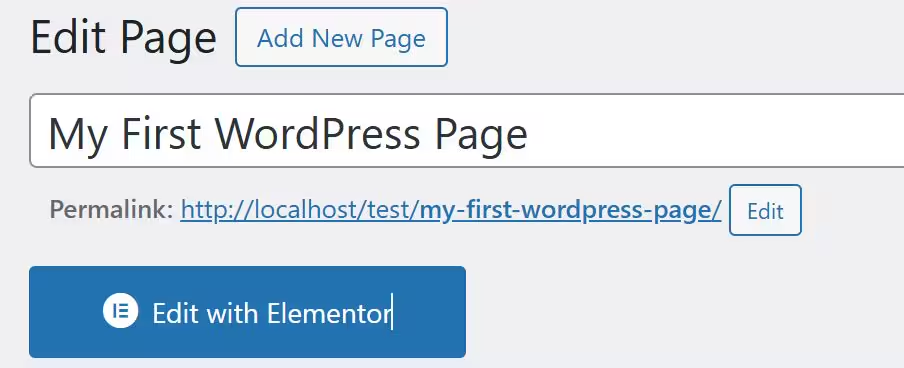
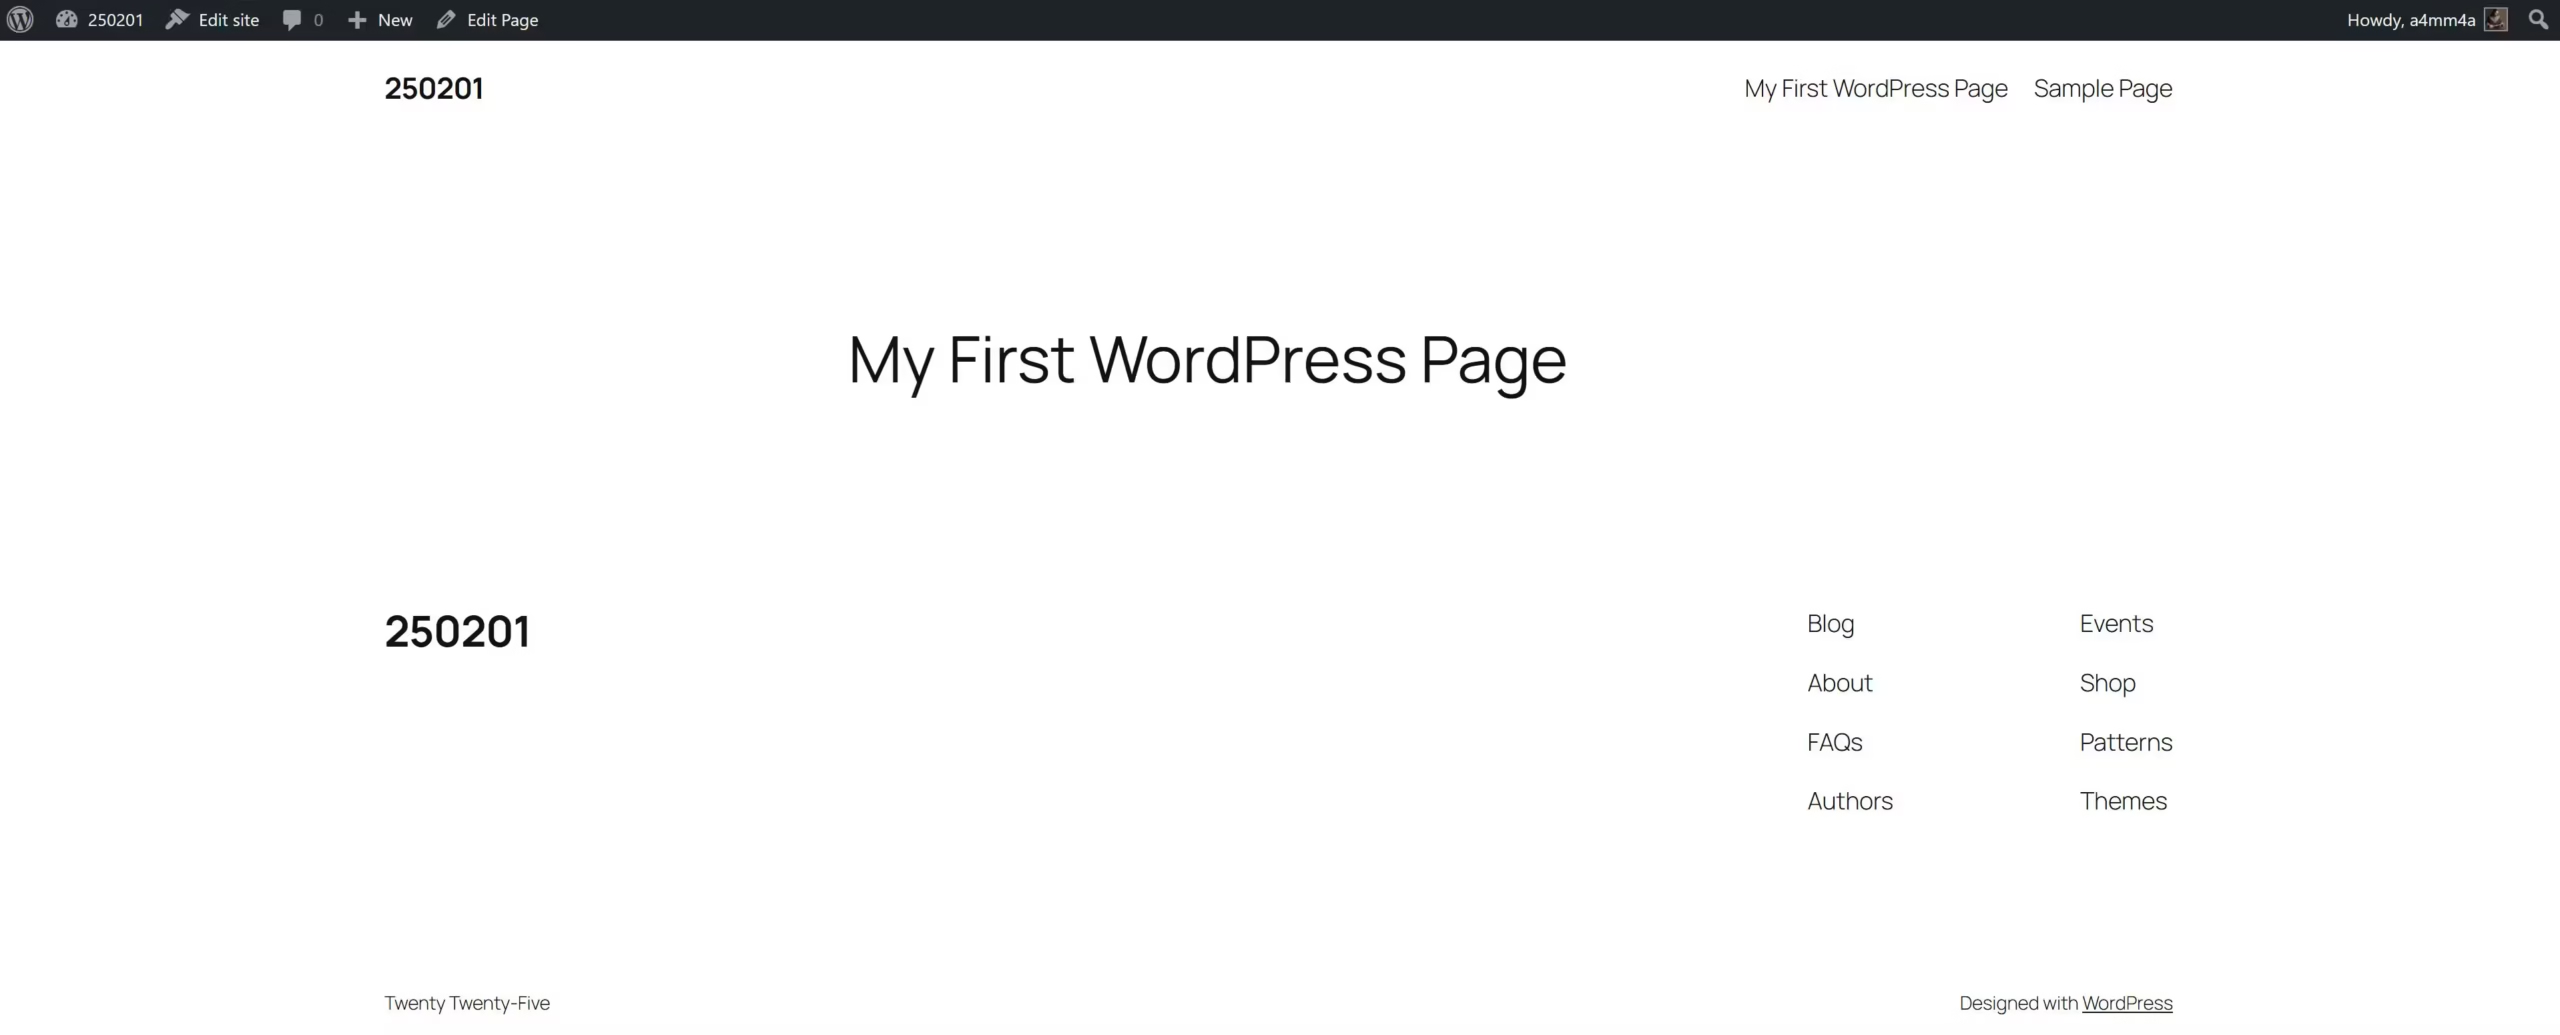
Click on the permalink to preview your empty page on the front end

Screenshot shows in steps how to edit a page with elementor - my first page on front end

🎨 Step 2: Open the Page in Elementor​

5️⃣ Click the “Edit with Elementor” button at the top of the editor.

Screenshot shows in steps how to edit a page with elementor - edit with elementor button

6️⃣ This will open the Elementor page editor, where you’ll see a blank canvas on the right and Elementor’s menu panel on the left.

Screenshot shows in steps how to edit a page with elementor - elementor page editor enviroment

🏗 Step 3: Add Your First Section and Structure

7️⃣ Click the “+” button in the Elementor editor to add a new container.

Screenshot shows in steps how to edit a page with elementor - elementor add new container

8️⃣ You will see two layout options:

  • Flexbox (recommended for modern layouts)
  • Grid (useful for multi-column structures)
  • For this tutorial, we’ll select Flexbox.
Screenshot shows in steps how to edit a page with elementor - elementor flexbox and grid

9️⃣ In the “Select Your Structure” tab, choose the first layout (Column Direction) to create a single-column section.

Screenshot shows in steps how to edit a page with elementor - elementor direction column

📝 Step 4: Add and Customize Your First Heading

🔟 Click the “+” button in the middle of the section to add an Elementor element.

Screenshot shows in steps how to edit a page with elementor - elementor plus button in the middle of the section

1️⃣1️⃣ The Elementor elements list will appear on the left side.

Screenshot shows in steps how to edit a page with elementor - elementors element list

1️⃣2️⃣ Drag the Heading element and drop it inside your newly created section.

Screenshot shows in steps how to edit a page with elementor - elementor drag and drop heading element

Customizing Your Heading Element

1️⃣3️⃣ On the left panel, you will see the “Edit Heading” menu with three tabs:

  • Content Tab → Adjusts the text, heading size (H1, H2, H3, etc.), and alignment
  • Style Tab → Controls colors, typography, spacing, and shadows
  • Advanced Tab → Provides margin, padding, and motion effects for more customization
Screenshot shows in steps how to edit a page with elementor - elementor heading edit-3

 1️⃣4️⃣ In the Content Tab, change the text to “Online SEO Course” and set it as H1.

Screenshot shows in steps how to edit a page with elementor - elementor heading edit-1

1️⃣5️⃣ Switch to the Style Tab:

  • Set the alignment to center
  • Change the text color to #0074A5
  • Go to Typography → Font Family → Saira
  • Set the Font Size to 26px and Weight to Bold
Screenshot shows in steps how to edit a page with elementor - elementor heading edit-4

✍ Step 5: Add a Text Block for Explanations

1️⃣6️⃣ Click the “+” button again to add another element.
1️⃣7️⃣ Drag the Text Editor widget and drop it below the heading.
1️⃣8️⃣ Type in some explanatory text about your course, services, or website.

🖼 Step 6: Add Images to Your Page

1️⃣9️⃣ Click the “+” button and drag an Image widget to the section.
2️⃣0️⃣ Upload or select an image from the Media Library to make your page visually appealing.

📱 Step 7: Check Responsiveness

Screenshot shows in steps how to edit a page with elementor - elementor screen size buttons

2️⃣1️⃣ To ensure your page looks great on all screen sizes:

  • Click the Responsive Mode icon (at the bottom left of the Elementor panel).
  • Toggle between Desktop, Tablet, and Mobile views.
  • Adjust fonts, spacing, or layout if needed to enhance mobile-friendliness.
Screenshot shows in steps how to edit a page with elementor - elementor mobile view

🏁 Step 8: Publish and Exit Elementor

2️⃣2️⃣ Click the Publish button at the top right to save your page.

Screenshot shows in steps how to edit a page with elementor - elementor publish button

2️⃣3️⃣ Once published, click the Menu icon (top left) and select “Exit to WordPress” to return to your dashboard.

Screenshot shows in steps how to edit a page with elementor - elementor exit to wordpress

🎉 Your First Elementor Page is Live!

Screenshot shows in steps how to edit a page with elementor - elementor tablet view

With these steps, you have successfully created and designed your first page using Elementor. Now, visit the frontend of your site to see the page you just built! 🚀

🚀 Next Step: Getting Started with SEO in WordPress

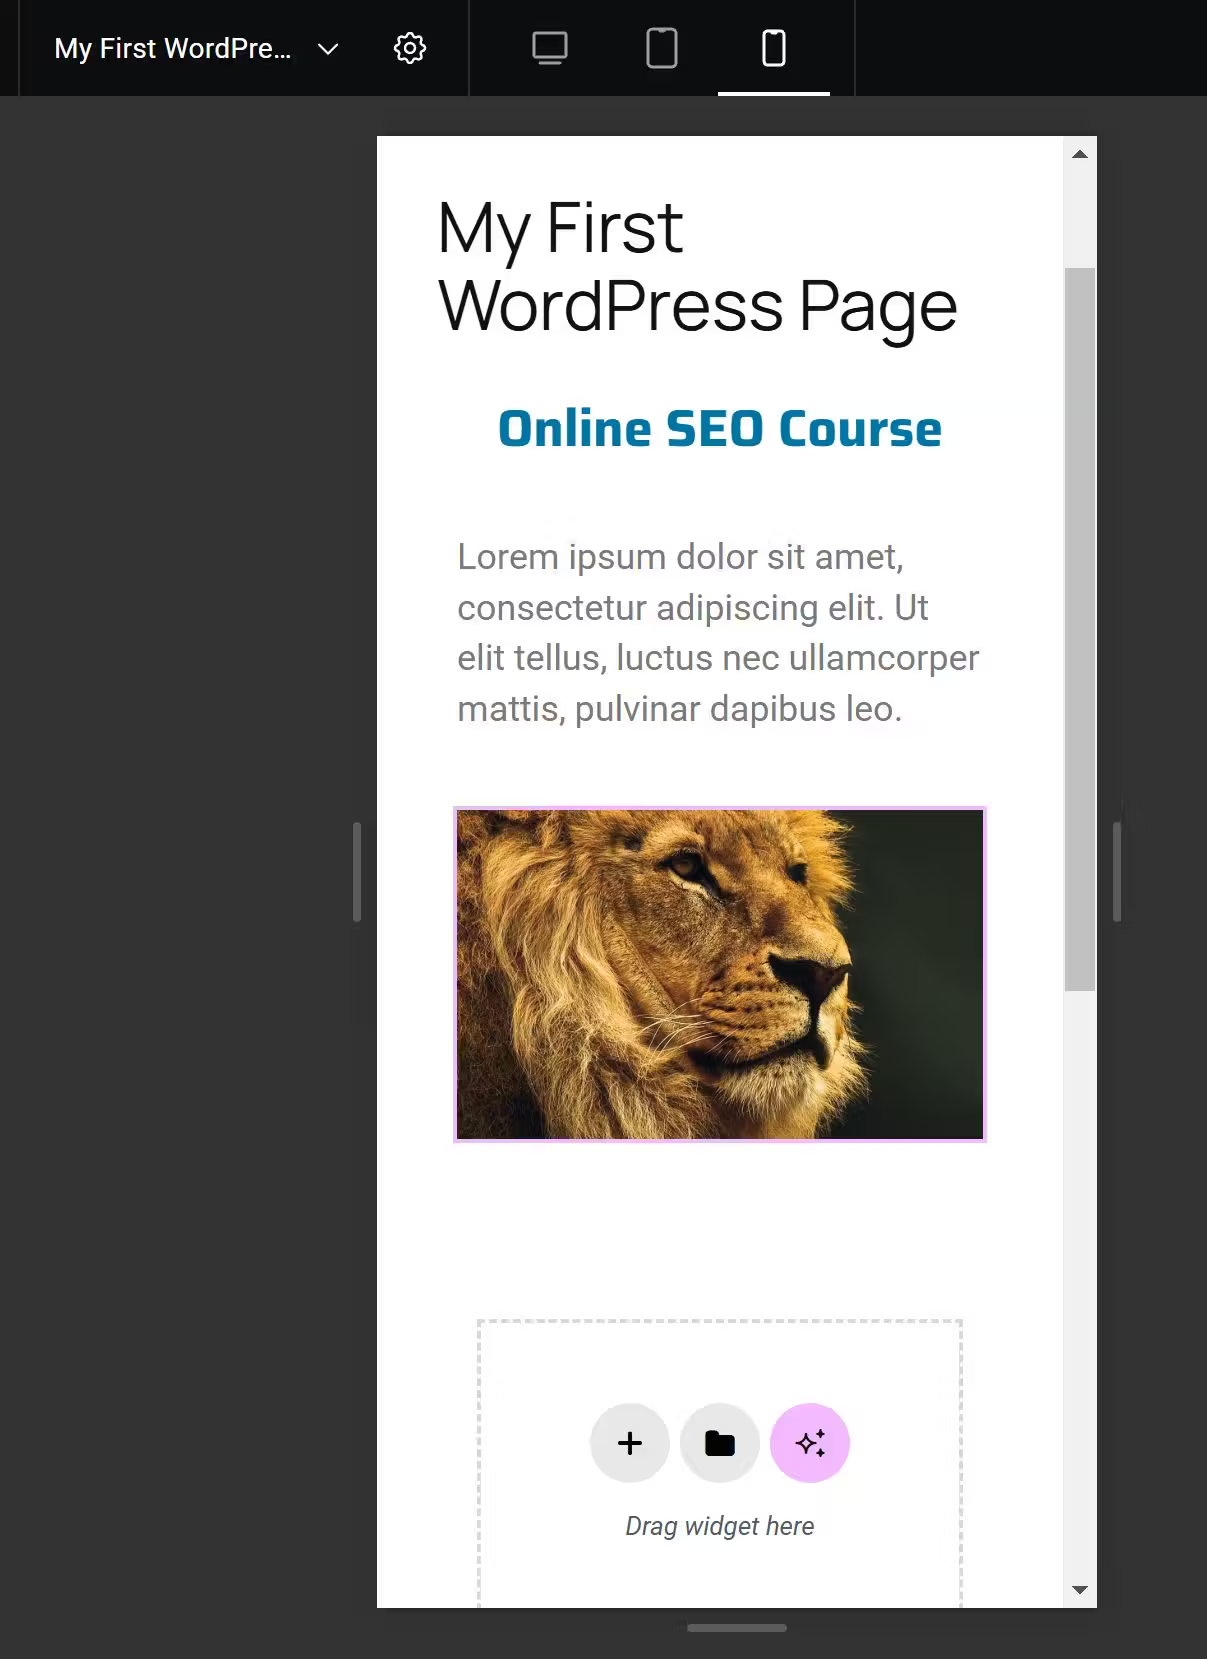
👉 We’ll cover step-by-step SEO best practices for WordPress.
👉 Learn how to increase your website’s speed, user experience, and mobile-friendliness.
👉 Discover SEO tools to track rankings and optimize performance.

Let’s take your WordPress website to the next level by ensuring it’s SEO-optimized and ready to rank! 🚀

LOGIN